
Looking out over the backyard and wishing for a little extra privacy? Imagine kicking back with a cold one without worrying about prying neighbours or your silly dog leaping out. As someone who’s fenced in a few yards myself, I know the itch to raise that fence higher.
Whether you’re chasing more seclusion, a play-safe pup, or just a solid perimeter, fence height extension can be a game-changer. In this guide, I’ll walk you through the who, what and how of making your fence taller in Perth.
Why Extend Your Fence Height?
You’ve already got a fence, but maybe it’s not quite cutting it. Think: extra privacy from nosy neighbours, added security against intruders, or keeping adventurous pets at home. I’ve seen my friend Tom add a lattice topper to block out the street view (and nosy teens next door).
Another mate “Meg” dog-proofed her yard by putting wire mesh extenders on top of her metal fence – now her Kelpie thinks he’s Houdini and still can’t escape. In short, raising your fence can give your home that snug, secure feeling.
- Privacy: Taller fences and trellises will screen you better – perfect for a sundowner on the deck.
- Security: More height means burglars have to grab a ladder to climb over (not that we have many, but still).
- Pet Proofing: For those hyper dogs or stray chooks next door, extensions (like mesh or solid toppers) keep fur babies safely in.
- Aesthetics: A well-designed trellis or panel extension can look like an upgrade (think vine-covered timber or steel art) – turning “meh” fences into feature walls.
Pro Tip: When you boost a fence’s height, use it as an opportunity to plant climbing vines or hang outdoor lights. It makes the new height feel like a chic design element, not an eyesore.
Perth Fence Height Rules & Permits
Before swinging any hammers, you’ve got to check the rules. In Perth and across WA, council regulations mostly set the allowed fence heights. Here’s the typical deal: Most back and side fences are standard 1.8m high (above the highest ground), but with neighbour agreement you can go up to 2.1m without a fuss.
Anything above 2.1m (to a max of 2.4m) usually needs council approval. Front fences are stricter – usually capped at about 1–1.2m solid (depending on your local council), unless the top part is see-through lattice or slats. This keeps walkways safe for drivers and emergency services.
The WA Government notes that “fence height restrictions and encroachments are set by local councils in most instances” – so you really need to call your council or check your R-Code rules. In practice, that means a quick email or online lookup at your local government site.
For example, I once called the City of Wanneroo and they said anything over 2.1m needed a permit (especially in bushfire zones, where BAL ratings come into play). No one wants surprise paperwork, so it’s best to double-check.
Remember the WA Dividing Fences Act (1961) – it essentially says boundary fences are a joint responsibility. If your fence already works fine, but you want to upgrade (say, add a lattice or go from 1.8m to 2.1m), you foot the extra bill.
Your neighbour doesn’t have to chip in, but you do need their permission since it’s still “their” fence too. In short: have a yarn with your neighbour and get things in writing. A polite chat can save headaches (and court appearances) down the track.
Fancy tweaks like cedar lattice or a 2.1m Colorbond extension look great, but they cost more. Legally your mate next door doesn’t have to pay for the extras – though you do need their OK. Also, anything permanently higher than 2.1m almost always means a building permit.
Fence Extension Options & Materials
Feeling inspired now? The fun part is picking how to raise that fence. There’s no one-size-fits-all – your choice depends on style, budget, and DIY skills. Here are some popular fence extension solutions:
- Wooden Lattice or Trellis Toppers: You can attach timber lattice panels (often 300–600mm tall) along the fence top. It’s a classic pick that suits gardens. Cedar or treated pine lattices are common. They’re easy to DIY with wood screws and anchor brackets. Downside: wood weathers and needs treatment (especially with our Perth sun), so plan on sealing or painting every few years.
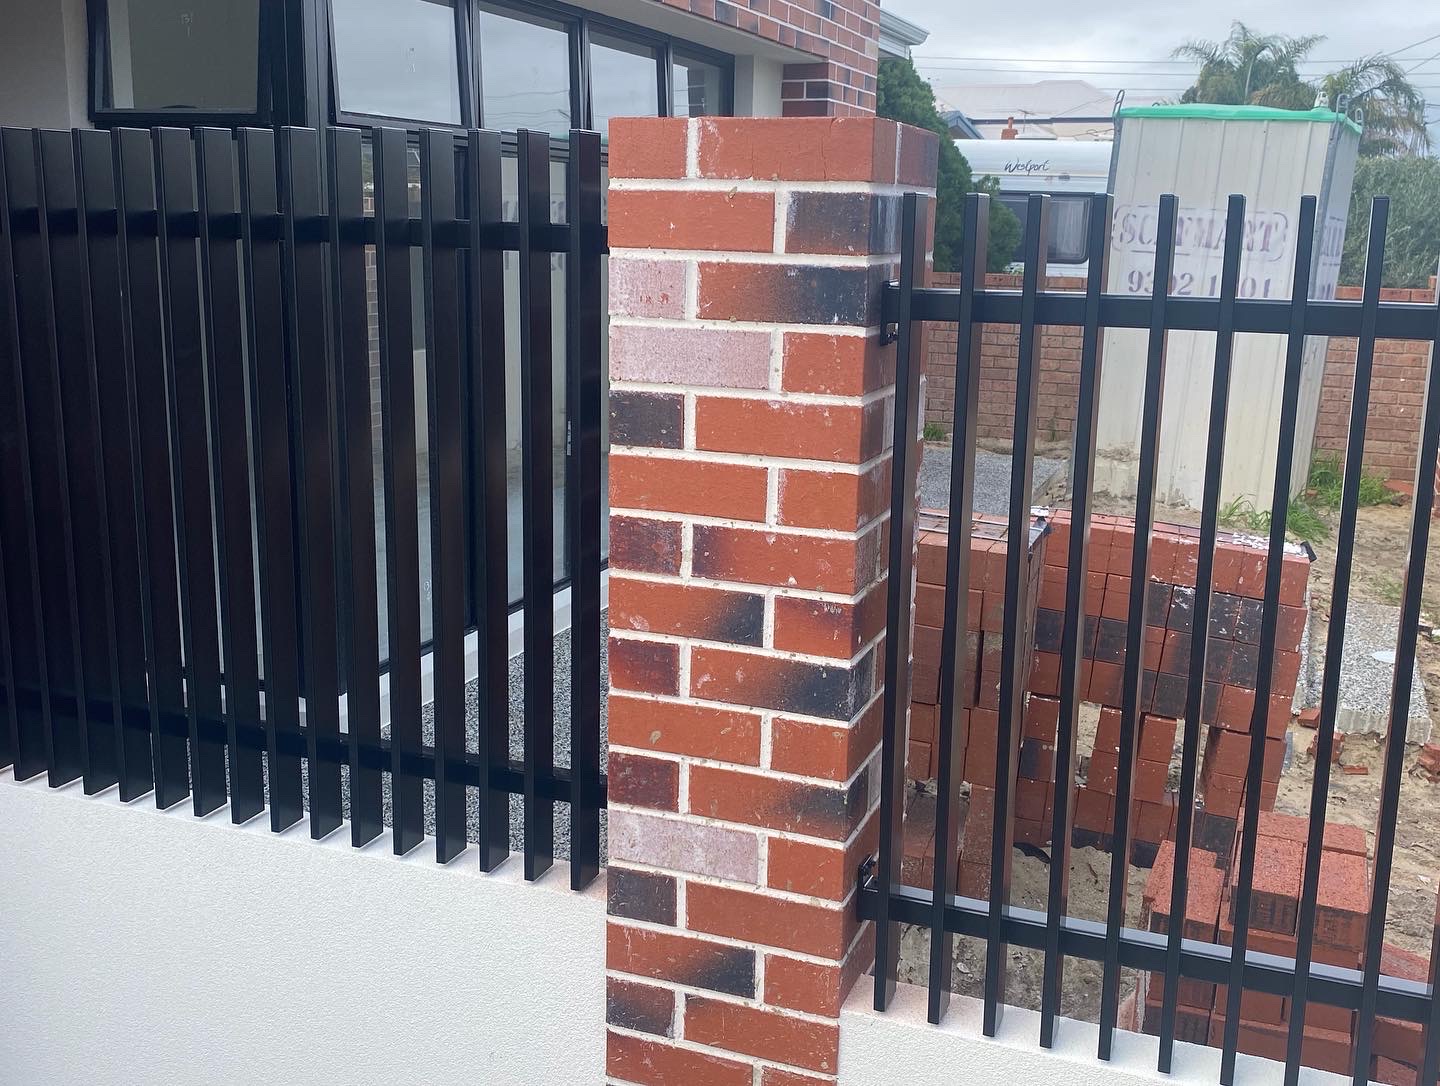
- Metal Privacy Panels: Think custom-made steel/aluminium trellis, laser-cut screens, or even repurposed gates bolted on. They look modern and last forever with the right coating. I saw a friend mount metal filigree panels above his Colorbond fence – it cost more upfront but looks stunning and is virtually maintenance-free. The cons? You need tools to cut/drill metal, and steel can be heavy (you might need extra post support). But steel gets top marks for longevity and style.
- Fence Mesh Extenders (for pets/security): Chainwire fences can be cheaply extended with extra mesh or even DIY welded wire. For wooden/Colorbond fences, people sometimes zip-tie coated chicken wire or expanded metal as a “fence horn” extension for rogue dogs. It’s not sexy, but it’s quick and cheap. It won’t stop determined trespassers (or climbing koalas), but it’s effective for deterring jumpers. Maintenance here is low, just spray a rust-proof coat if needed.
- PVC or Plastic Fence Extensions: There are plastic lattice panels or even roll-up fences (like bamboo/sun-screen material) that clip onto the top. Lightweight and rust-free, but expect them to warp or crack over time. I mostly see these in rental homes or holiday parks as a short-term fix.
- Landscaping & Live Screens: Not a structural “extension,” but worth mentioning – planting a hedge or vine can add privacy height on the inner side of your fence. Bougainvillea, jasmine, or star jasmine are popular choices here in WA. Bonus: they look great and help with privacy. Drawback: they need years of growth and ongoing care. If you have the patience (and gardening flair), a living fence is a wonderful complement to any extension.
To keep things clear, below is a quick comparison of common fence extension materials:
| Material/Type | Cost | Durability | Pros & Cons |
| Timber lattice/trellis | Low–Medium | ~5–10 years (with maintenance) | Pro: Natural look, easy to cut to fit. Con: Fades, rot risk (needs staining/sealant). |
| Metal panels (steel/aluminium) | High | 20+ years | Pro: Strong, modern look, fireproof, low-maintenance. Con: Heavy/expensive, needs posts. |
| Colorbond steel extension | High | 30+ years | Pro: Matches existing fence, ultra-durable. Con: Very heavy, requires power tools/expert install. |
| Chainwire/mesh extenders | Low | 10–15 years (galvanized) | Pro: Cheap and quick. Con: Industrial look, see-through, less privacy. |
| PVC/plastic panels | Low–Medium | ~10 years | Pro: Rust-proof, easy install. Con: Can warp or discolor, less sturdy. |
| Living screen (plants) | Moderate | 30+ years (with care) | Pro: Lush, eco-friendly privacy. Con: Slow growth, seasonal appearance, maintenance. |
Each of these can work as a fence topper depending on style and budget. For example, Colorbond fences often use Colorbond or timber extensions for a seamless look. For timber fences, cedar trellis is a classic.
In general, steel and aluminium last longer than wood, but they cost more. And no matter what you pick, don’t forget quality fixings: use stainless or galvanized screws/brackets so they don’t rust in our wet winters.
Installation Tips and DIY Advice
Alright, you’ve picked a material – now how to put it up. Here are some pointers from my own wins (and mistakes):
- Check Post Strength: If you’re adding more than ~300mm, you might need to reinforce or swap your fence posts. In Perth, a rule of thumb is to bury posts at least 1/3 of the total height. If your fence was 1.8m, adding 0.6m means posts should be in ~0.8m deeper, which often means installing new posts with concrete. Many folks underestimate this and end up with a wobbly new top section.
- Use Proper Brackets: We’re in cyclone-prone territory, so don’t just nail lattice on with flimsy staples. Grab some L-brackets or fence extension clips (available from fencing suppliers). Drill pilot holes (especially in hardwood) and use corrosion-resistant screws or bolts. For metal panels, you’ll likely need self-drilling tek-screws and nuts with washers.
- Mind the Ground Level: Fences should follow ground contours to avoid gaps. If you’re on uneven land, consider stepping the extension (like a stair-step pattern) or filling gaps with planter boxes. This is especially important if you want the top to be straight for hanging lights or planters – I had to trim a cedar panel to shape on one end because my backyard slopes.
- Safety First: Always wear eye and ear protection when cutting metal or wood. If you’re attaching heavy panels, get someone to help – those sheets can pinch fingers easily. If you use a power drill on concrete posts, make sure you have the right masonry bit.
- Check Utilities: Before digging for new posts, ring Dial Before You Dig (1100 in Australia) to locate any cables or pipes! You don’t want to hit a gas line digging a new hole.
- Consider Hiring a Pro: If this is sounding like a lot of work, remember that a local fencing contractor can handle permits and heavy lifting. Sometimes paying for a quote ends up saving you costly mistakes (and time). I often call in a pro for anything above 2m or with custom Colorbond, since those require specialty tools.
Lastly, keep the weather in mind. Summer heat can expand metal and cause warping if not properly installed. Rainy seasons can shift soil – make sure concrete around posts is cured before pushing on the fence. Taking these steps will ensure your fence extension isn’t just tall, but also solid and safe.
Costs: Budgeting Your Fence Extension
Wondering what this will cost? That depends on how high you go, what you use, and whether you DIY or pay someone. To give you ballpark figures (2026 prices in Perth):
- Timber Trellis Kit: Ready-made 600mm x 1800mm trellis panels run about 100–200 each (quality hardwood models). Fixing brackets and screws another 20–50. So for a 20m fence, using two or three panels per section, expect 500–1000 for materials, more for premium cedar.
- Metal Privacy Panels: Custom-cut steel or aluminium screens can cost 200–400 per panel (roughly 1.8–2.1m tall). You also pay for stainless fixings and possibly a powder-coating (100–200 more). So it adds up – maybe $1500+ for a 10m stretch.
- DIY Mesh Extender: A roll of coated wire or mesh might only be 50–100, plus zip-ties or clips, so under $200 total for that 20m. Simple and cheap.
- Full Colorbond Panel (pro install): If you were thinking of ripping out the old and putting in new taller Colorbond panels, that could be 150–250 per linear meter installed (depending on profile and height). For example, a 20m new 2m-high fence might be 3000–5000 including posts and concrete.
Instead of numbers, here’s a quick picture via a list:
- DIY short extension: 100–200 per panel (materials) – budget-friendly if you do the work.
- Custom metal screen: 200–400 per panel – upscale look, heavier price.
- Colorbond pro job: ~150–250 per meter installed – highest cost but longest life.
- Chainwire extension: ~50–100 for rolls – cheapest, basic function.
Remember: these are ballpark and will vary with height, local labour rates and season. Also factor in extra if you need a building permit (application fees ~100–300) or new posts (50–100 each plus concrete).
No matter the route, write out a little plan: measure the length, decide height, and sketch materials. Then get quotes or shop around – Perth’s fencing market is competitive, so it pays to compare.
Conclusion
Raising your fence height can feel like unlocking a new level of home comfort – more privacy, security, and style for your slice of Perth. By weighing your options (timber lattice, metal screens, mesh, etc.), checking the local rules, and budgeting smartly, you can get the extra height you need without drama.
Whether you tackle it yourself or chat with a fencing pro about fence extension solutions, just plan and do it safely. Inspect those council requirements, grab the right tools, and talk to your neighbour. Soon enough, you’ll have the tall, impressive fence you and your family deserve – ready to keep good vibes in and curious eyes out.
Ready to raise the bar? If your yard’s calling out for a taller fence, why not reach out for expert help today? A quick chat with a local fencing specialist can turn your ideas into reality. Your perfect privacy upgrade is just a project away!
FAQs
What’s the maximum fence height allowed in Perth?
Typically, boundary fences can be 1.8m high without approval, and up to 2.1m by neighbour agreement. Beyond 2.1m (up to 2.4m) usually requires a council permit. Front fences are even lower (around 1–1.2m solid), mainly for sightline safety. Always check your specific local council rules.
Do I need a permit to extend my fence height?
If you’re going above the standard 2.1m, yes – you’ll likely need a building permit. Even projects under 2.1m can sometimes trigger a permit if you’re in a bushfire-prone or heritage area. It’s wise to confirm with the council. For minor extensions (like a 300mm lattice), many people DIY without a permit – but do double-check your R-Code.
Can I extend my fence without my neighbour’s permission?
If it’s purely your half of the fence and not shared, you can usually do minor extensions. But for dividing fences (on the property line), add-ons are considered changes to the shared fence. Legally, you should at least notify your neighbour and ideally get written consent. If you’re just rebuilding entirely on your side (on your own land), neighbours have less say.
Which materials are best for adding fence height?
It depends on your style and budget. Timber lattices are affordable and look great with vines, but need regular upkeep. Steel or aluminium privacy panels cost more up front but last for decades. Colorbond extensions are super durable but heavy and expensive. PVC panels are low-maintenance but less sturdy. For a quick fix, mesh or wire extensions work too (especially for containing pets). Consider local conditions: if you live in a windy spot or bushfire area, go for metal or treated timber.